Step-by-Step Guide to Using a Xenon Light Fastness Chamber for Material Testing
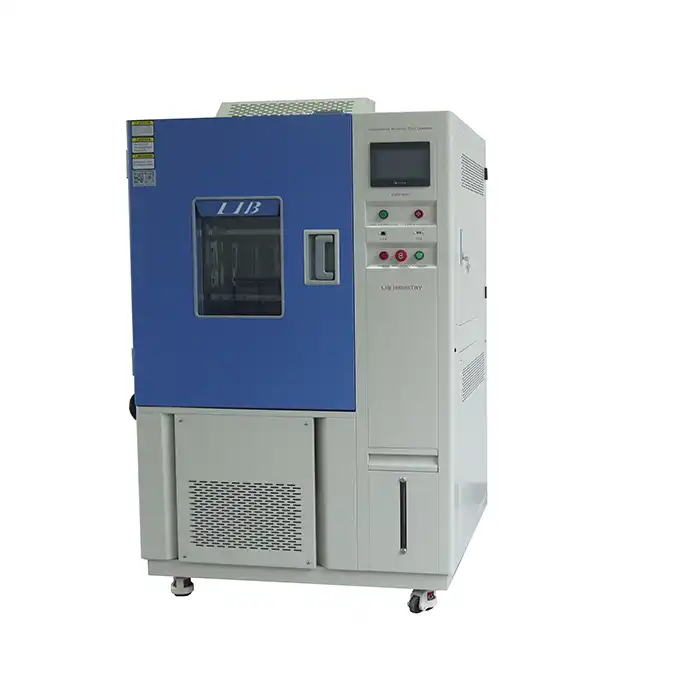
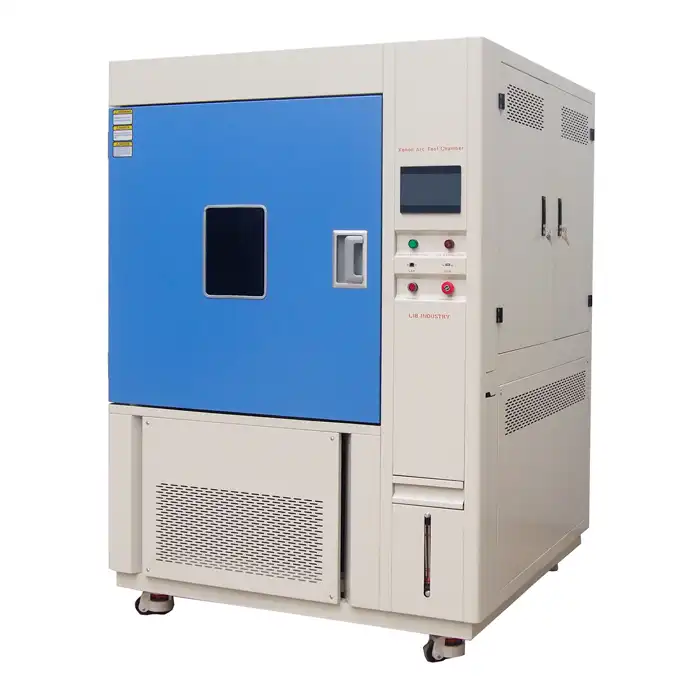
In the world of material testing, ensuring that products maintain their appearance and performance under various environmental conditions is critical. Xenon light fastness chamber simulates sunlight and other environmental factors to test the durability and colorfastness of materials. Whether you're working with textiles, plastics, or coatings, understanding how to properly use this chamber is key for accurate and reliable results.
Preparation and Safety Checks Before Testing
Before you begin any testing in a xenon light fastness chamber, it's important to carry out thorough preparation and safety checks. This includes ensuring the chamber is in optimal working condition and free from any malfunctions that could interfere with the test results.
Always start by checking for any visible damage to the chamber's components, such as the xenon lamp, cooling system, and filters. Ensure the chamber is clean and free from dust or debris, as this can affect the accuracy of the light exposure. Additionally, review the manufacturer's safety guidelines regarding the chamber's usage, including wearing protective gear such as gloves and eye protection when handling test materials or chamber components.
Calibrating the Xenon Light Fastness Chamber
Calibration is critical for any testing equipment, especially when dealing with sensitive tests like light exposure. The xenon light fastness chamber needs to be calibrated regularly to ensure the light intensity, temperature, and humidity within the chamber accurately mimic real-world conditions.
To start, verify that the xenon lamp is functioning properly and emitting light at the correct intensity. Many chambers come equipped with sensors for monitoring light intensity, which should be calibrated based on the manufacturer's instructions. Also, check the temperature and humidity sensors to ensure they are working correctly. Adjust these parameters as needed to reflect the conditions under which your material will be tested.
Preparing and Mounting the Test Samples
Once your chamber is calibrated, it's time to prepare and mount your test samples. The way you handle and position your materials can affect the results, so this step requires careful attention.
Begin by cutting your samples to the appropriate size, ensuring that each one is consistent and free from defects. Most xenon light fastness chambers come with sample holders or frames that keep the materials securely in place during testing. Ensure the samples are mounted without wrinkles or folds, as uneven exposure to light can lead to misleading results.
Additionally, if your test involves multiple material types, make sure to label each sample clearly and document their positions within the chamber. Proper preparation and mounting ensure that the test results accurately reflect the material's performance under uniform conditions.
Setting Up Test Parameters and Conditions
Now that your samples are ready, you'll need to set the test parameters and conditions within the xenon light fastness chamber. These settings will vary depending on the material being tested and the specific environmental conditions you wish to simulate.
Key parameters to configure include light intensity, temperature, humidity, and the duration of the test. The xenon lamp should be set to mimic the wavelength and intensity of natural sunlight, while temperature and humidity should be adjusted to the specific conditions your product will face in real-world applications. For example, testing for outdoor fabric durability might require high-intensity light and fluctuating humidity levels.
Once you've programmed the chamber with the appropriate settings, double-check everything to ensure accuracy. Proper parameter setup is essential for ensuring the test reflects real-world conditions and produces reliable data.
Running the Test and Monitoring Progress
With everything set up, it's time to start the test. During the testing process, regular monitoring is crucial to ensure the chamber is operating correctly and the test is proceeding as planned.
Monitor the xenon light fastness chamber's internal environment, including light intensity, temperature, and humidity, throughout the testing period. Many chambers feature built-in monitoring systems that alert you to any deviations from the set parameters. If any inconsistencies are detected, pause the test and make the necessary adjustments to prevent compromised results.
It's also important to keep track of time and document any observations throughout the test. Regular monitoring ensures the test runs smoothly, and any potential issues are addressed promptly.
Analyzing Results and Post-Test Procedures
Once the test is complete, the final step is analyzing the results and performing any necessary post-test procedures. Carefully remove your samples from the chamber, and inspect them for changes in color, texture, or physical integrity.
Use a spectrophotometer or other relevant measurement tools to quantify any color changes or material degradation. Compare the post-test results with baseline data to evaluate how well the material held up under the simulated conditions. This analysis will give you valuable insights into the performance and durability of your materials.
Finally, document the test results and clean the chamber thoroughly to ensure it's ready for future use. Proper post-test analysis and maintenance are key to ensuring that your testing process remains efficient and accurate.
At LIB Industry, we specialize in providing turn-key solutions for environmental testing, from design to installation, tailored to your specific needs. If you want to learn more about how xenon light fastness chambers can help with your material testing requires, feel free to contact us at ellen@lib-industry.com.
References
1. Xenon Light Fastness Testing: Principles and Applications in Material Testing
2. Environmental Testing Equipment: Calibration and Maintenance Best Practices
3. Lightfastness Testing in Textile and Plastic Industries: A Practical Guide
4. Analyzing Material Degradation Under Simulated Environmental Conditions
